Plein Air Painting: Tips, Tools and Tricks Part 3
Let’s get to the important stuff!
This article is the third of a series of three articles by Renee Rondon.
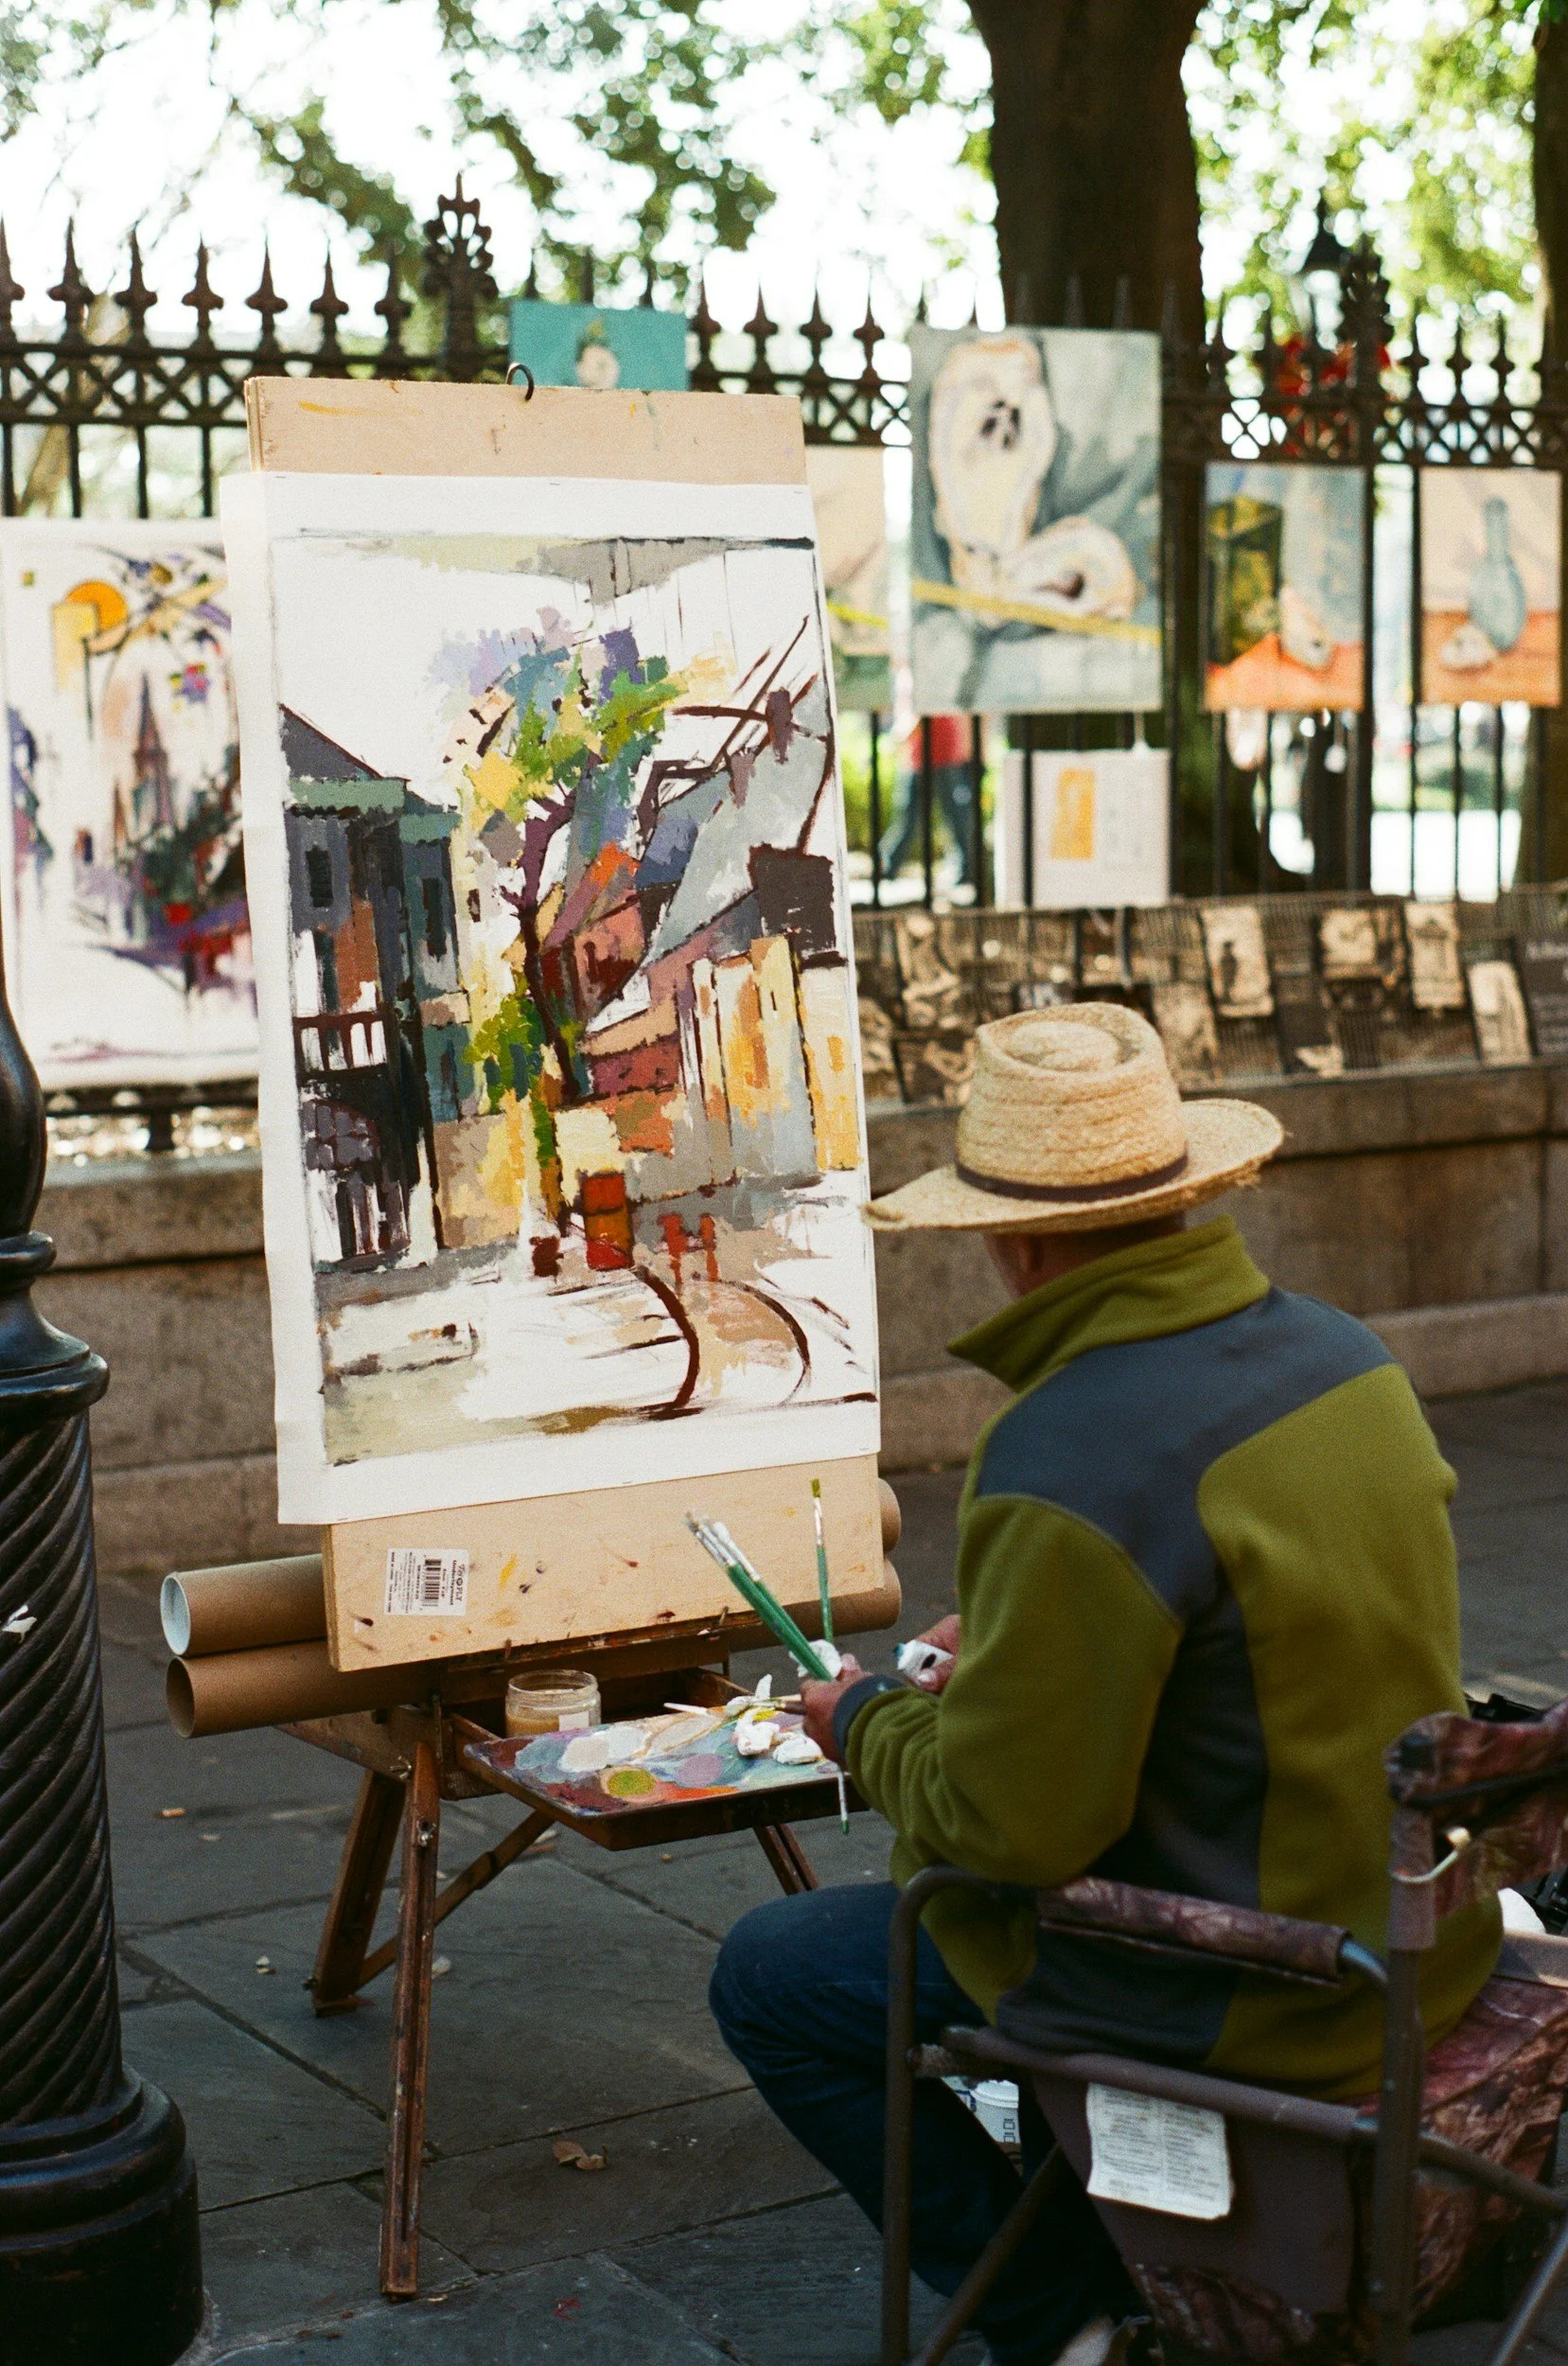
You’ve arrived at the plein air site. It’s a great place. The scenery may be a bit challenging for lighting or composition, but first things first. Get your gear set up. As we all know, there can be challenges to this. Often the gear or tripod won’t level well. Sometimes those wobbly, spindly legs of a French easel are a real trial to get coordinated at the same time. Whatever gear you have, take your time, and enjoy the process and the scenery. I always look forward to this step, getting paints, rags, brushes and the other items ready. It helps me settle in and start focusing on painting.
Planning Your Composition

When planning your composition, don’t overlook the rule of thirds, which helps in selecting the focal point of your painting.
A good idea before beginning your painting is to sketch it on your canvas or a pad of paper. It’s useful for checking values, shapes and overall composition. There are several guidelines to think about while sketching. Keep in mind the rule of thirds (see photo), values, and limiting the number of shapes included. Most often I sketch directly onto my canvas using either a Prismacolor blue PC1025 pencil or thinned French Ultramarine blue paint. This is a quick sketch to get the basic three to five shapes and to depict where the darkest and lightest values will be. Graphite pencils will also work. It’s good to remember that no matter what you use to sketch, this is only a light sketch, not the final dark and light values you’ll paint in.
Some Useful Tools
There are tools that are valuable when you’re painting, whether plein air or in a studio. Three of them are a handheld mirror, a piece of red Plexiglas and a viewer.
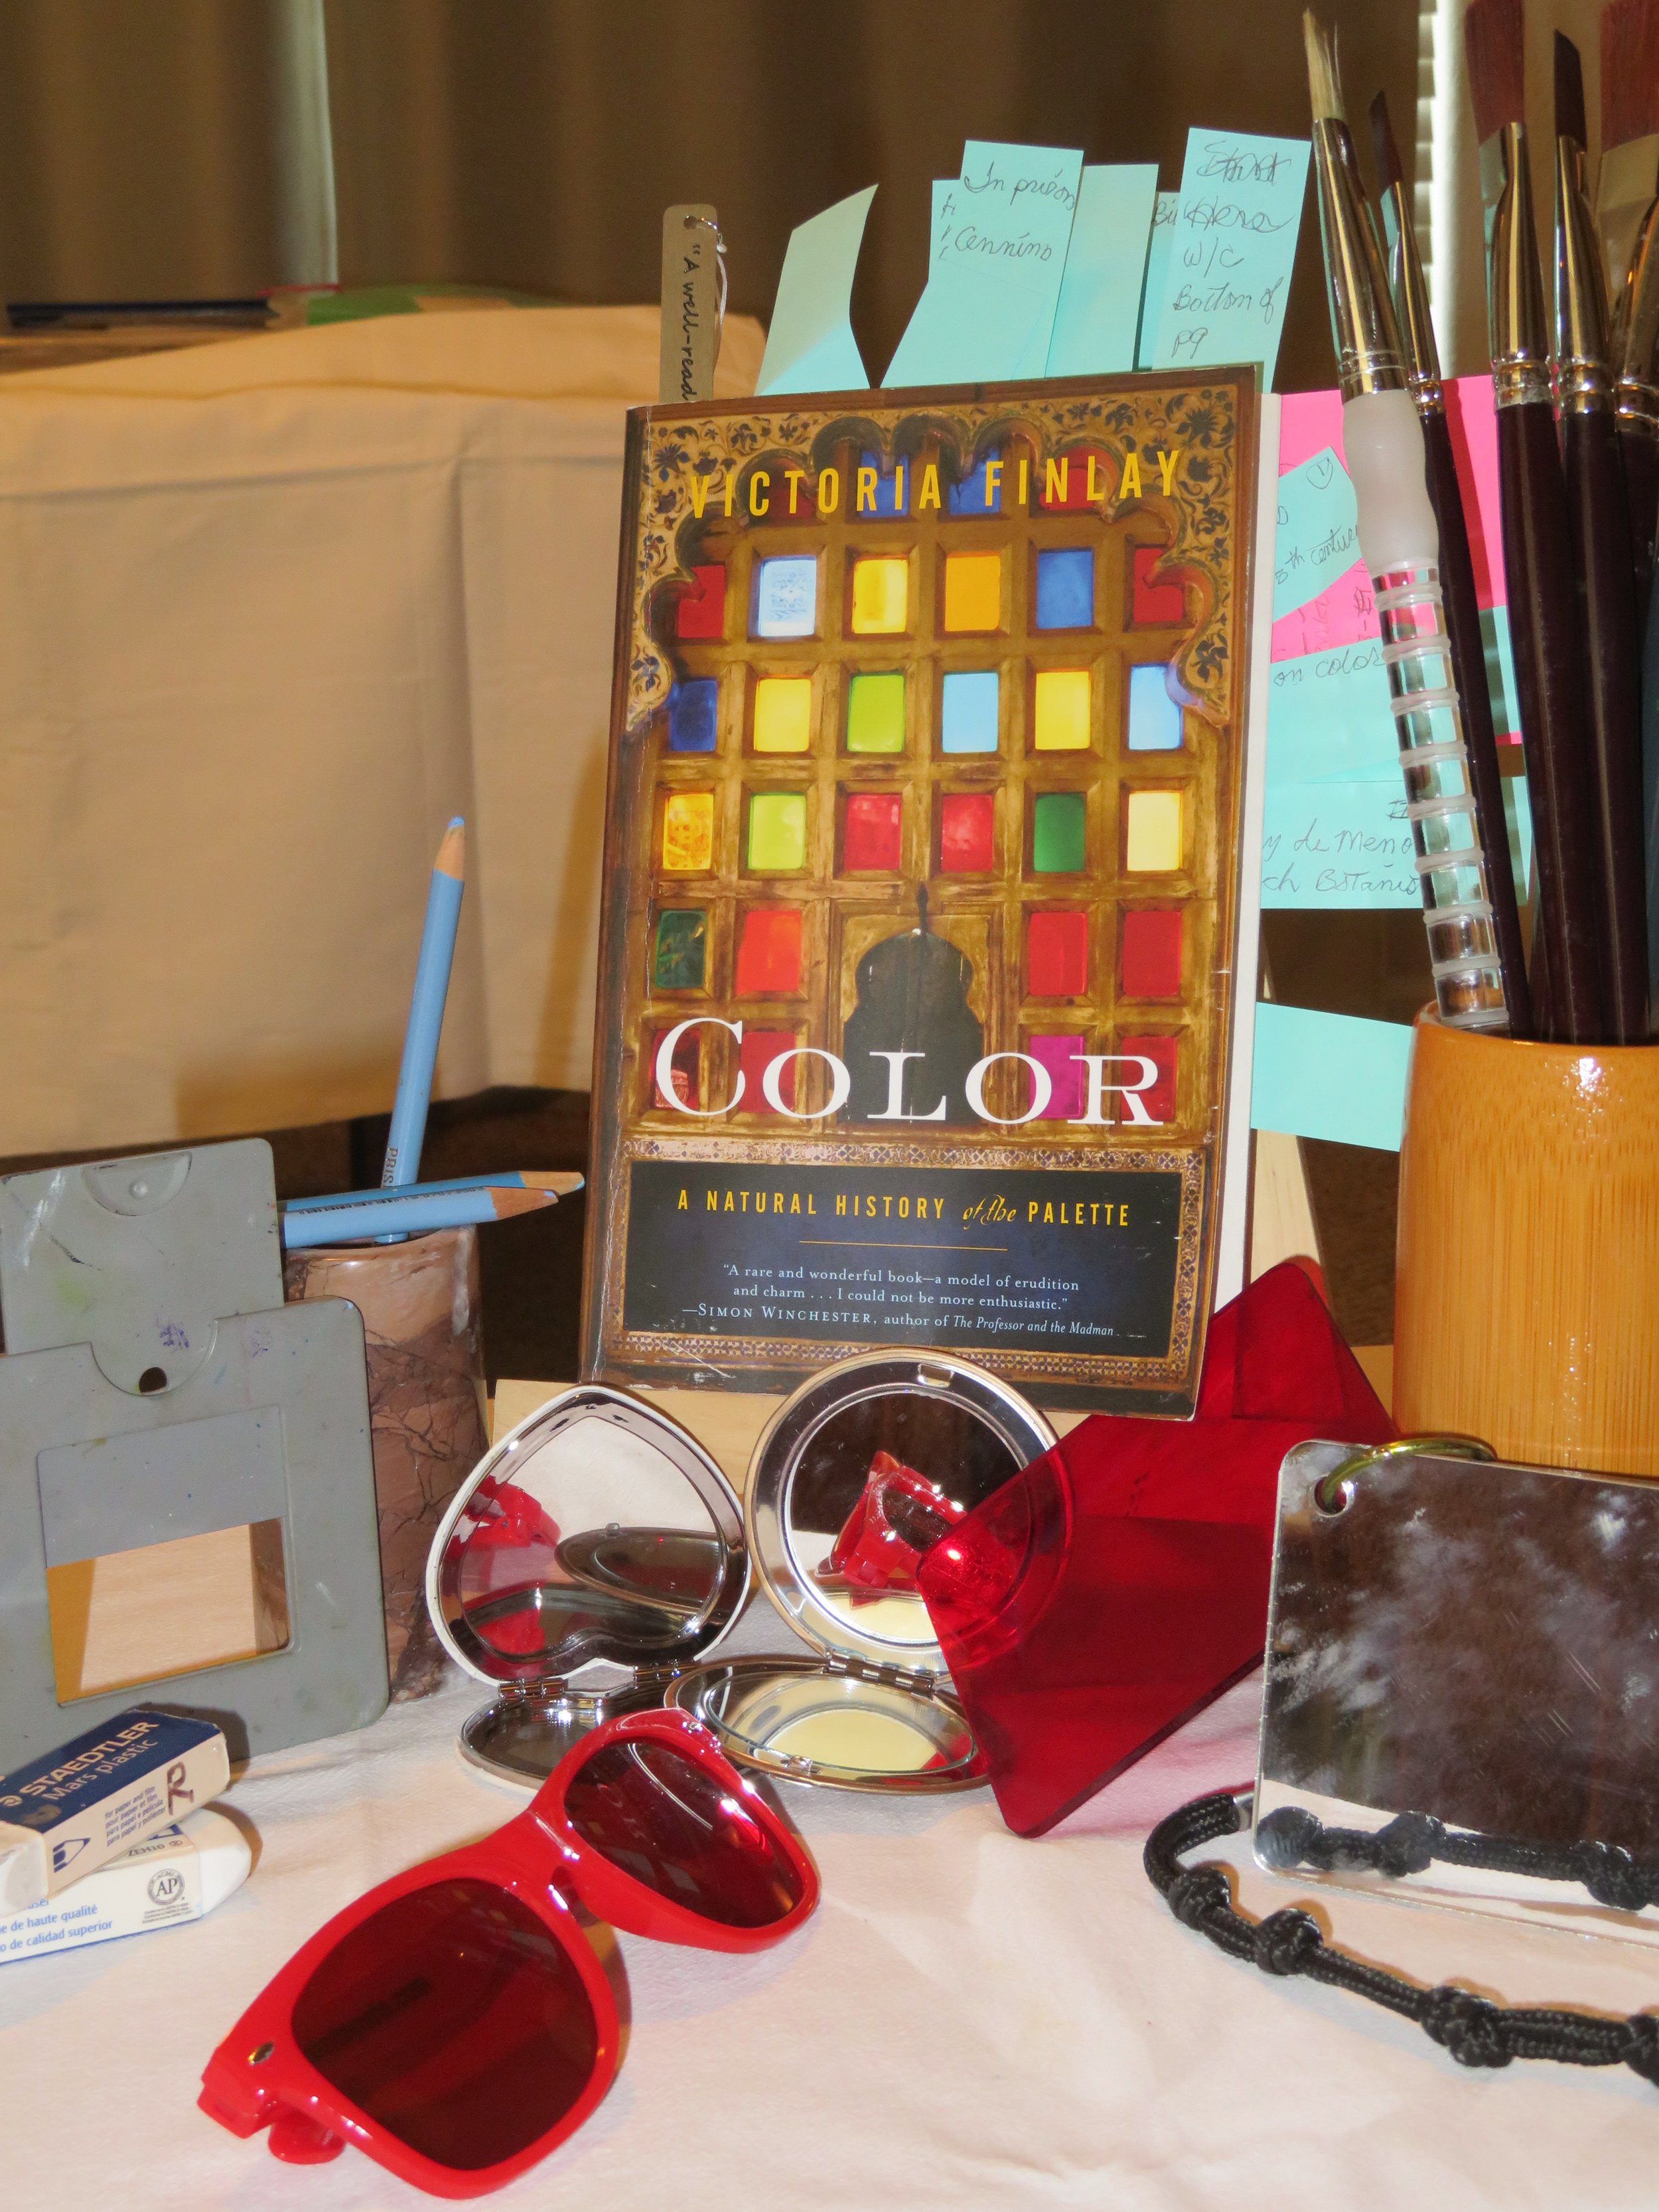
Some useful tools and supplies to take with you are a mirror, red plexiglass or red goggles, and a viewer.
The mirror: When looking at our paintings from a different angle, we see it differently. Our brains stop labeling items and shapes. Try using a mirror to look backwards at your work, or stand to the side of the painting to see it from a different direction. Doing this helps our brain see values, basic shapes, and perspective the way we’ve actually painted them in. It’s a big help in spotting areas that may need adjusting or that are working well.
Red Plexiglas or red goggles: Look through either of these at your piece in progress. The red helps you see the darkest and lightest values. You can see clearly if they’re in the right place, helping you see the focus or sweet spot, and if there’s enough contrast.
A viewer: These are usually square, lightweight plastic, and have an inner slide that moves to frame in your composition. Use the slide to choose if an 8x10, 9x12 or 11x14 canvas will be best. Repeatedly look through the viewer as you continue painting to remind yourself where the borders of the composition are.
A Little Bit of History
There were many inventions and discoveries in regard to watercolors in the 1800s. In the early 1800s William Reeves worked for a colorman mixing watercolor paints. (*) Back then they made them with “pigment and water-soluble gum.” These watercolors were made into “dry lumps that had to be grated.” William and his brother soon improved on this. With the addition of honey, the lumps didn’t dry out, and the paint could be placed into the molds that Wiliam’s brother designed. (†) However, the paints had to be rubbed to be used, making them granular and harder to paint with. Jump forward to the mid 1800s, when it was discovered that by adding glycerin to watercolor pigments, the paints could be brushed directly from the molds and were easier to paint with.
Oil paints have come a long way also. Originally to transport oil paints colormen made thin square pig skins. After placing a bit of paint on the square it would be closed with string. The problem was that artists had to cut a tiny hole in the square to release some of the paint. That of course led to the problem of how to keep the square closed and the paint from drying out. (‡) Those artists must have been delighted when tubes for oil paints were developed.
History can certainly teach us about having the right tools for the job. There are so many artists that came before us and created wonderful masterpieces, but they painted without the modern conveniences we enjoy. To honor them, I will continue to be grateful for those early inventions that led us to our modern devices.
A Tale of Plein Air in the Wild
Here’s a final tale of plein air painting in the wild. This is a classic “Lions, tigers and bears, oh no!” tale. A few years back I was camping and painting around Spicer Reservoir in California. I wanted to find a spot on the road with a view to paint in that area. The road was about eight miles long, so there were a lot of spots to choose from. I found a good one, and got my gear set up. It was a place where people parked to take hikes and I seemed to have several choices for wonderful compositions.
It was a sunny, warm, good day to paint. There were redwood and other trees everywhere, almost hugging the natural pathways up and through the woods. As I’m sketching in the basics, bird chirping and other forest noises catch my attention. A lizard tries to climb in my backpack, and a caterpillar slowly walks over some leaves near me. What fun to be out there!
In full paint mode now, I hear a larger noise – surely that’s a deer, right? Trying to stay cool and not become concerned while still being vigilant, I continue painting. There are now louder noises that seem closer. As I start to sweat, my mind is trying valiantly to remember that bears don’t really want to eat us! No animals have come into sight. So I continue to paint, liking the start of this scene. The noise is now closer. My worry is now bigger. When do I call it quits? Do I try to pack up everything or make a run for the truck and hope this huge bear, that I haven’t seen, doesn’t destroy my gear? Final decision: I pack up and take everything to the truck, being a bit watchful. It might be time to relax and eat lunch before tucking tail and driving off. While eating, I notice a couple small limbs falling from a tree. The same sound as the bear I thought heard. Maybe next time part of my gear will be a boat horn or another device to scare off my imaginary beasts. Still, it was a grand day for painting out there!
We’re at the end of this blog, but I’ll wish you the best of plein air painting. May your days be filled with newly found compositions and your own original stories. Enjoy your painting endeavors and experiences.
Thank you for reading this series of three blogs.
Renée Rondon
(*), (†), (‡) Victoria Finlay, Color